Monday, 26 November 2007

Christmas Candles

Here's my most recent IACW post on Christmas Candles!


Hi Everyone! It’s Angela here!

Here are the Christmas Candles that I made:
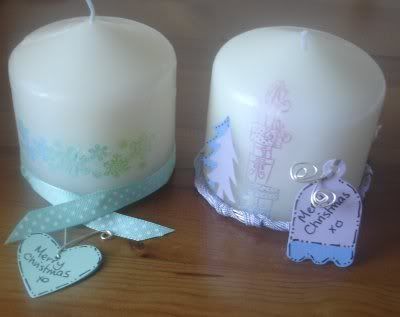


I embedded the stamped image into the candle – this was surprisingly easy to do. I stamped a Christmas themed image onto a piece of white tissue paper using Brilliance Inks, and heated this just to make it set, then trimmed around the image quite closely. Once I had done this I used a glue stick to adhere the tissue to the candle, just to hold it in place, and then heated the candle using a heat gun. As the candle is heated, the wax melts and covers over the image, incasing it in the wax. You need to be careful doing this as it can get very hot. Then while the candle was hot I rolled it on a non-stick craft sheet to try to smooth out any bumps in the candle caused by the wax dripping. It is awkward to do this and it never looks as smooth as it did when you started out!
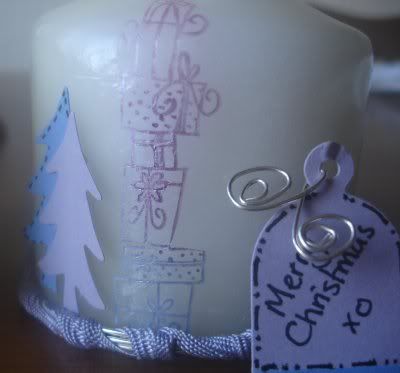


Once the candle had cooled, I wrapped wire around one of the candles, and then wrapped ribbon around this wire. I then punched out 2 tags in contrasting colours and doodled on it. On the other candles I punched out some Christmas trees and adhered them on (these will obviously need to be removed if you are lighting the candles!) and decorated another tag.
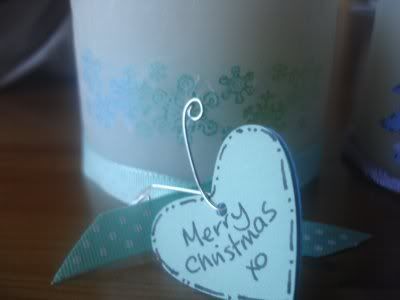


I hope this inspires you to have a go at making your own table decorations for Christmas, to make your table look unique!

~angela~

Friday, 23 November 2007

Glimmer Mists

Here's my IACW post from the other day... working loads, so not up to much else, apart from trying out 2 of the fabulous Kim Archer 
Christmas Workshops, 
I've made some cute little stockings for our Christmas tree! 
I'll show them when I get a chance to photograph them!

Hi there, its Angela here again!!!

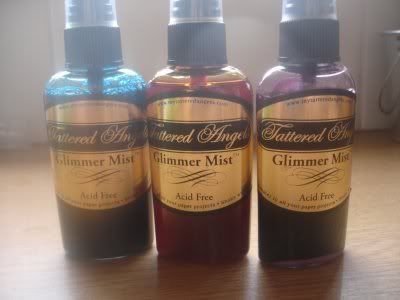
Today I want to show you some techniques using one of the hottest new mediums in the craft/altering world at the moment – Glimmer Mists.


I have 3 colours at the moment, but after all this playing I have ordered some more :)

Glimmer Mists are made by Tattered Angels, and they come in a spray bottle, a bit like glittery Colour washes. They are primarily for use on paper, but they can be used with caution on some other mediums.

They can be very messy, so if you are particular about your work area, it is probably best to cover it!

You need to shake the Glimmer Mists really well before each use, as the Shimmery part settles on the base of the bottle, and when you spray, hold it about 10 inches away from your project to get a good over all cover.

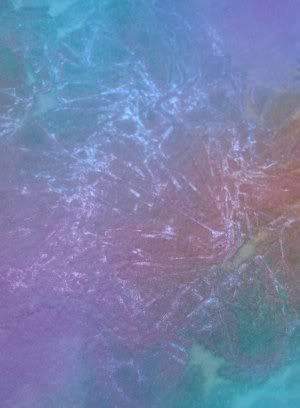
First I sprayed the three colours randomly onto a piece of white cardstock, while this was still wet, I placed a piece of clingfilm on top and moved this around to create a texture and left the piece to dry. When it was dry the texture looked like this:


These would make great backgrounds for cards.

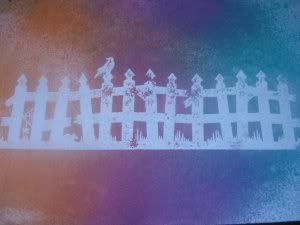
Next I tried a resist technique by embossing a stamped image with clear embossing powder and them spraying the mists over this. The colours pooled on top of the embossed area and I wiped this off carefully using a baby wipe. I love the effect this gave.


I then sprayed a variety of surfaces to see how well it works on them. First I used a wooden Christmas Decoration, it worked well on this and you can see the shimmer well on it.


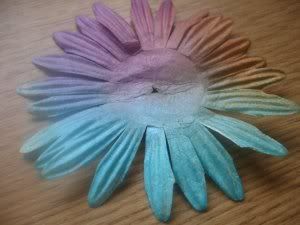
I also used a paper bloom, which had been a very pale green and spritzed the colours. This is a beautiful effect and ties in wonderfuly with some of the new Blonde Moments Scrapbook papers!


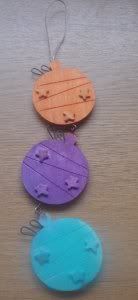
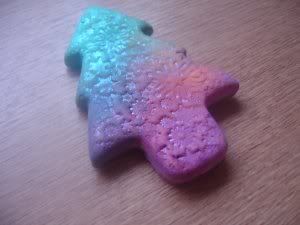
I then tried Model Magic, which is a modelling clay that is like spongy foam when it dries (this enables you to sew through it). I cut a christmas tree out with a cookie cutter and then stamped a snowflake image into it. When it was dry I then sprayed it with the Colour Mists.


Finally, I used the colour mists to try the “Faux Watercolour” Technique that Tim Holtz uses in his first DVD. Spray the mists onto your stamp, and then place the stamp onto a piece of card. Here are 3 images I tried.


A word of warning though, this does stain the wood on wooden stamps, so if you are concerned about this, you could just use unmounted ones. Now I have 4 beautifully coloured wooden blocks! :)
I hope that this will encourage you to do some more experimenting !

~angela~

Tuesday, 6 November 2007

Show and Tell

Here's some IACW stuff that I never got around to showing:

A LO based on a sketch:


Some embellishments made from fun foam:


A Christmas tree made by Daniel out of painted handprints!


~angela~

How posh are we?

Lookie where we stayed in Vegas!!!


It was dead posh :)


We had a great view of the Bellagio fountains out of our window, thanks to an upgrade from the lovely desk clerk, a flirty Mandy, and a sneaky $30 tip...


Still Jetlagged, so don't expect much from me for a while!

I still need to update with IACW stuff that was posted while I was away, will do that soon!

~angela~

Saturday, 3 November 2007

Viva Las Vegas

Well I'm back from fabulous Las Vegas, spent lots of money on some amazing stash, 3 fabulous pairs of shoes and lots of other stuff too! We managed all but one stash shop :)

We had an amazing room in the Bellagio, overlooking the fountains. Felt really posh driving around in a stretch limo!

We went to see "O" by cirque du soleil, which was absolutely amazing, even though I hadn't a clue what was going on!!!

And finally won some money on the slot machines :)

More later :)

~angela~